
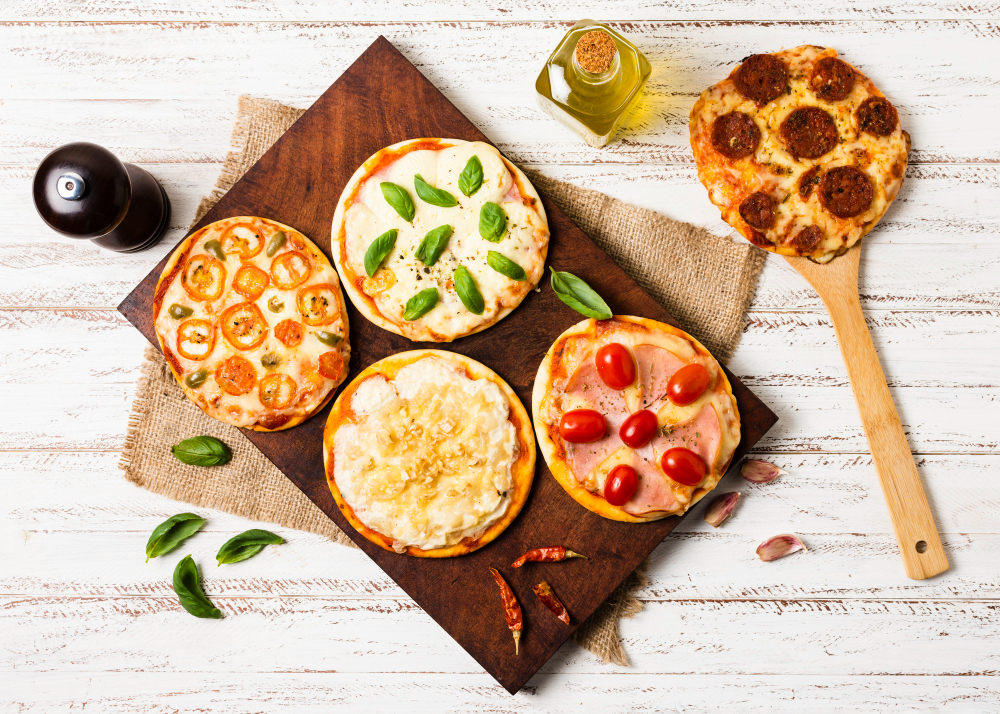
When it comes to school lunches, finding meals that are easy to prepare, kid-friendly, and nutritious can feel like a daunting task. Enter Mini Lunchbox Pizzas the perfect solution for parents looking to add a touch of fun and variety to their child’s midday meal. These bite-sized treats are not only simple to make but also customizable to suit any dietary preference. In this article, we’ll explore everything you need to know about mini lunchbox pizzas, from recipes and preparation tips to storage and creative variations. Why Choose Mini Lunchbox Pizzas? Mini lunchbox pizzas are a favorite among kids for several reasons: Ingredients for Mini Lunchbox Pizzas The beauty of mini pizzas lies in their versatility. You can use simple ingredients that are often already in your kitchen. Here’s a basic list: For the Base: For the Sauce: The Toppings: Step-by-Step Recipe for Mini Lunchbox Pizzas 1. Prepare the Base Choose your preferred pizza base, such as English muffins or mini pitas. If using dough, roll it out and cut it into small circles using a cookie cutter or glass. Pre-bake the base for 5–7 minutes at 375°F (190°C) to ensure it’s firm enough to hold the toppings. 2. Spread the Sauce Apply a thin layer of your chosen sauce to each base. Be careful not to use too much sauce, as this can make the pizzas soggy. 3. Add the Cheese Sprinkle shredded cheese evenly over the sauce. You can use a mix of cheeses for extra flavor. 4. Layer the Toppings Let your creativity shine! Add your child’s favorite toppings. Encourage them to create fun designs, like smiley faces using olives and bell peppers. 5. Bake the Pizzas Place the assembled pizzas on a baking sheet lined with parchment paper. Bake in a preheated oven at 400°F (200°C) for 8–10 minutes or until the cheese is melted and bubbly. 6. Cool and Pack Allow the pizzas to cool completely before packing them into lunchboxes. This prevents condensation and sogginess. Tips for Perfect Mini Lunchbox Pizzas Creative Variations of Mini Lunchbox Pizzas 1. Breakfast Mini Pizzas Swap the pizza sauce for scrambled eggs and add toppings like crumbled bacon and spinach for a breakfast twist. 2. Sweet Mini Pizzas Use a cream cheese spread as the base, top with sliced fruits like strawberries and kiwi, and drizzle with honey for a dessert-inspired pizza. 3. Gluten-Free Mini Pizzas Opt for gluten-free pizza bases or cauliflower crusts for children with gluten sensitivities. 4. Vegan Mini Pizzas Use dairy-free cheese and load up on veggies for a plant-based option. 5. Mexican-Style Pizzas Replace the pizza sauce with refried beans or salsa, and top with shredded cheese, diced tomatoes, and avocado slices. Nutritional Benefits of Mini Lunchbox Pizzas Mini lunchbox pizzas can be a balanced meal when prepared thoughtfully. Here’s how: Storage and Meal Prep Tips Getting Kids Involved in the Kitchen One of the best aspects of making mini lunchbox pizzas is involving kids in the preparation process. Here’s how: Cooking together not only makes mealtime more enjoyable but also teaches kids valuable skills and encourages healthy eating habits. Why Mini Lunchbox Pizzas Are a Parent’s Best Friend Mini lunchbox pizzas check all the boxes for a perfect school lunch: they’re easy to make, nutritious, customizable, and loved by kids. By preparing these pizzas in advance, you save time during busy mornings and ensure your child has a meal they’ll look forward to eating. Whether you stick to the classic recipe or experiment with creative variations, mini lunchbox pizzas are a versatile option that can cater to every taste and dietary need. Conclusion Mini Lunchbox Pizzas are more than just a meal; they’re a way to bring creativity, nutrition, and joy to your child’s lunch. With endless customization options, simple preparation steps, and the ability to involve kids in the process, these little pizzas are a winning solution for parents. Start experimenting with toppings, flavors, and bases today, and watch your child’s excitement grow as they discover the delicious world of mini lunchbox pizzas!